Quality Inspection
Part of Quality inspection before shipment
Documenting defects with useful photographs
Capture context, close-up and scale images, then link each product defect to a clear inspection finding.
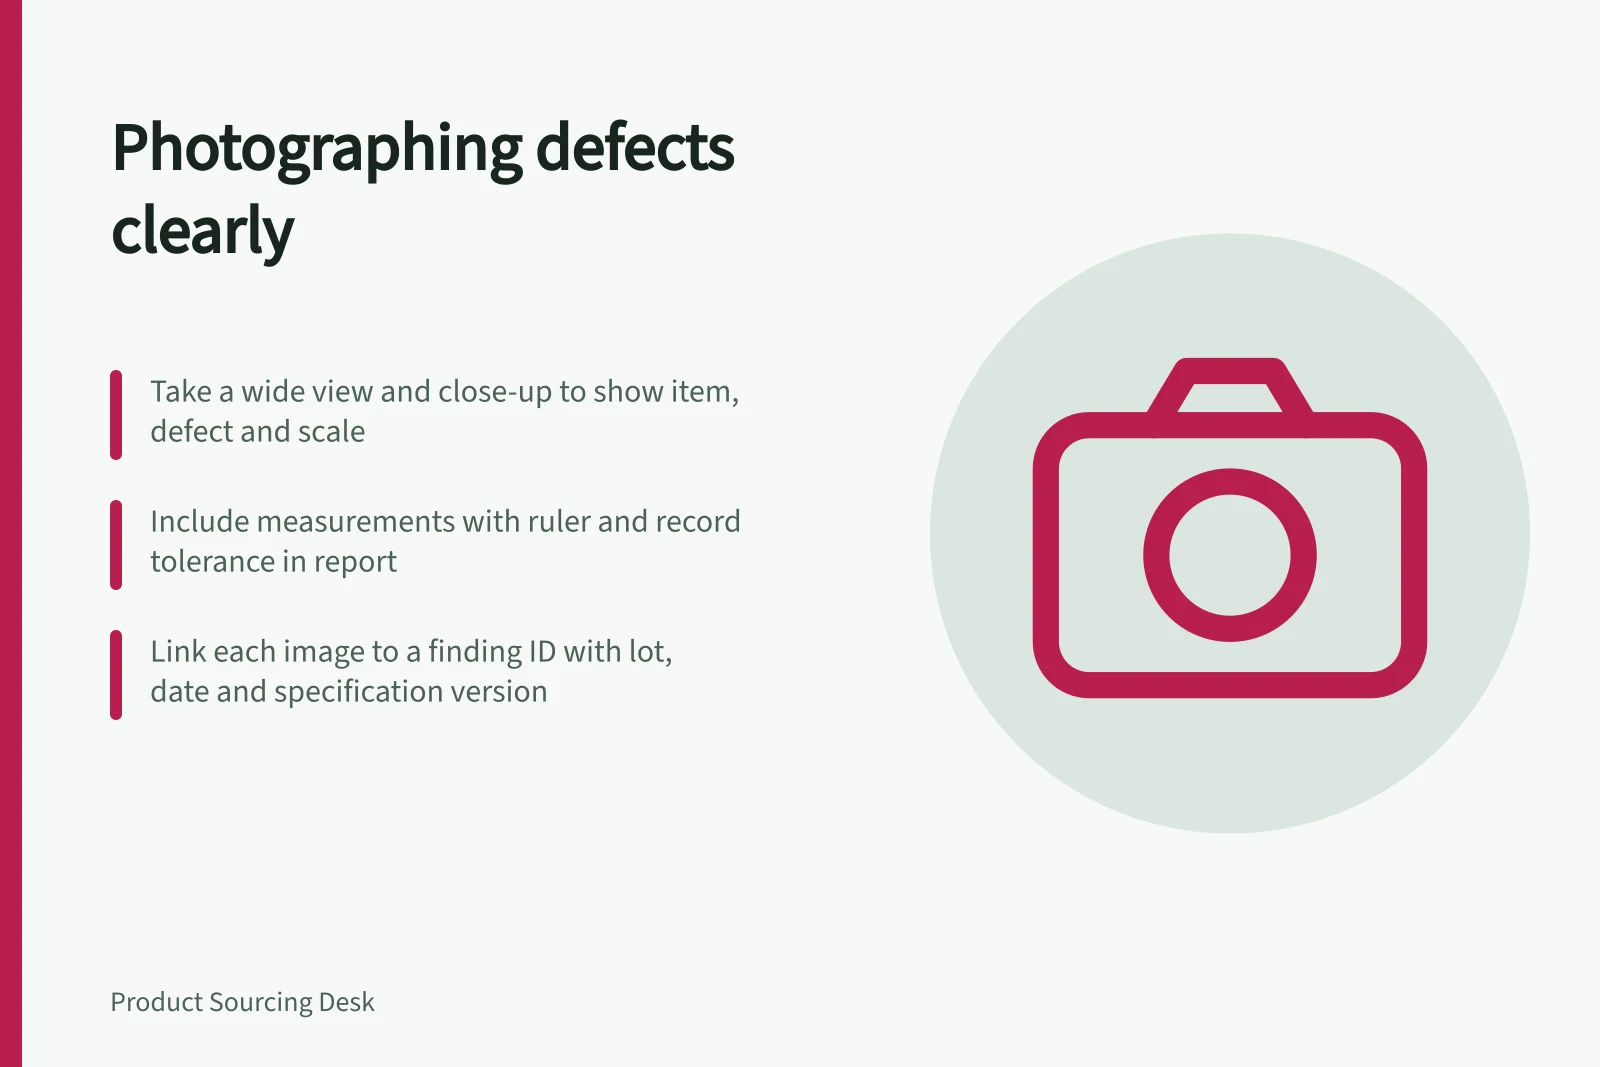
A defect photograph should let someone away from the factory identify the item, locate the problem and judge its visible extent. Capture a wider view and a sharp close-up, show scale when size matters, and link the images to a written finding. A close-up alone cannot show which item or part was inspected.
Show the item and the defect
Start with the whole item or package and a visible variant, carton or unit identifier where practical. Take a view of the affected part, then a close-up. For a split seam, show which seam it is as well as the opening.
Use even light and focus; avoid glare or shadows that hide or exaggerate the feature.
For a dimensional defect, place a suitable measure in the same plane as the feature and record the measured value and required tolerance in the report. The ruler helps the reader understand the image but does not replace the written measurement.
Connect images to the finding
Give the finding an ID and record the order, inspected lot, variant or unit, inspection date and relevant specification version. Caption each image with what it shows.
Record how many examples were found in the inspected sample. If a single photo illustrates several findings, say so rather than implying that it depicts every affected unit.
An approved reference can help when appearance is disputed. Photograph it from a comparable angle and clearly label it as the reference.
For a colour concern, record the viewing conditions; an ordinary phone image is not a definitive colour measurement.
If the fault appears only during operation, document the operating step and result because a still image may be insufficient.
Preserve a usable record
Keep the original files. An annotated copy can point out the defect, but it should not replace an unobscured original.
State when the problem could not be photographed clearly and what other evidence was used. Store images with the report so a reviewer can match each photo to the finding and defect count.
After rework, take new photographs linked to the original finding and label them as later observations. An image of one corrected item shows that item's visible condition at that moment; verification of other affected goods needs its own agreed method.
Key facts about defect photography standards
- Original files must be preserved
- Annotated copies should not replace unobscured originals
- Ruler in image provides scale
- Helps readers judge size but does not replace written measurement
- Post-rework photos require new IDs
- Label as later observations; one corrected item does not verify all